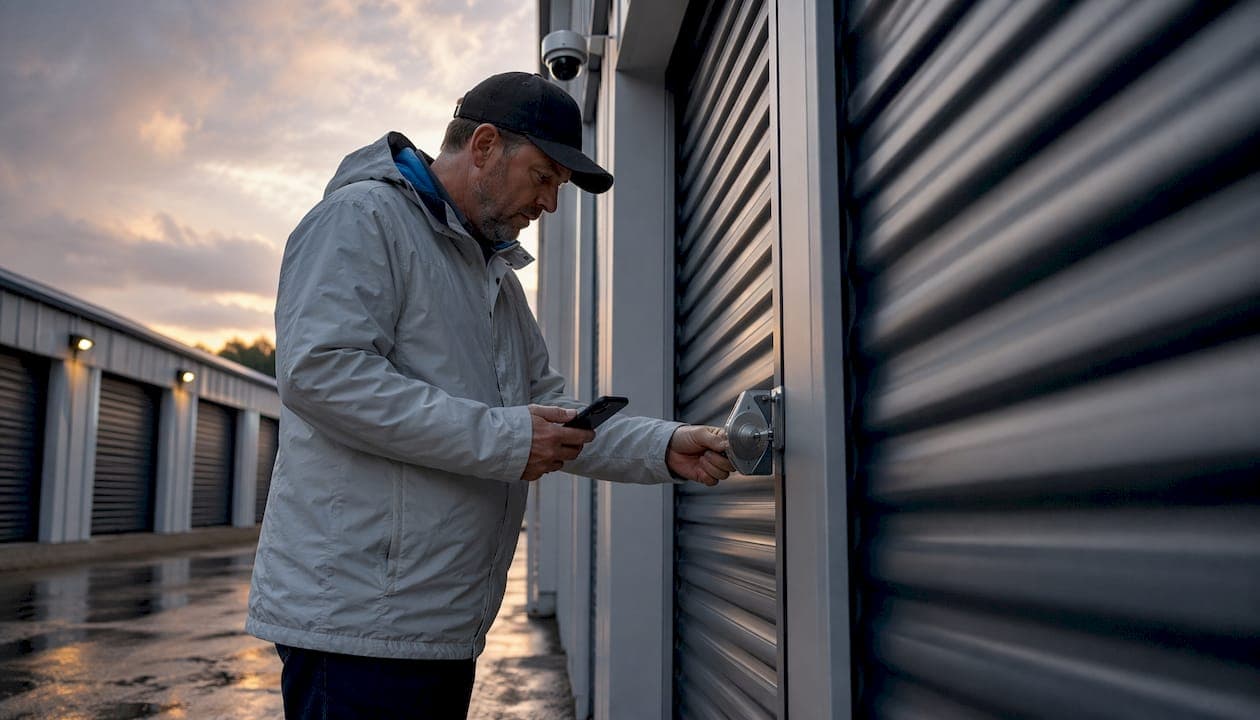
The five highest-impact actions you can take right now: choose a facility with gated access and cameras, use a disc lock, photograph every item and store that inventory off-site, select climate control for sensitive belongings, and visit every 2–3 months. Do those five things and you've addressed the vast majority of theft, environmental damage, and failed insurance claims that storage renters face.
Here's the short checklist to act on today:
- Buy a disc lock before you move anything in. Standard padlocks can be cut in under a minute.
- Photograph every item with serial numbers visible. Record estimated values. Do this before you close the unit door.
- Store your inventory off-site — cloud storage, email backup, or a printed copy at home. Never inside the unit.
- Choose climate control if you're storing electronics, antiques, wood furniture, or musical instruments.
- Avoid prohibited items — no gasoline, propane, paint, or perishable food. Check your lease.
- Set a visit cadence. Regular visits every few months are recommended for catching moisture, pests, and lock issues early.
- Ask for the facility's prohibited-items list at move-in and confirm your insurance coverage on day one.
Facility security and your personal habits work together. Neither alone is enough — a well-secured building still depends on you using the right lock, documenting your contents, and showing up regularly.
Table of Contents
- What can actually go wrong in a storage unit?
- How to choose the safest facility and the right unit type
- How to pack, arrange, and label your unit so items actually survive
- Which locks actually reduce theft risk, and what to avoid
- How to build an insurance-ready inventory before you need it
- How to stop pests and moisture from destroying stored items
- How often should you visit, and what should you check?
- What you should never store in a storage unit
- Key Takeaways
- What storage operators actually see — and what renters miss
- Useful sources for further reading
What can actually go wrong in a storage unit?
Most renters think about theft and stop there. The real risk picture is wider, and some of the most damaging problems are entirely preventable.
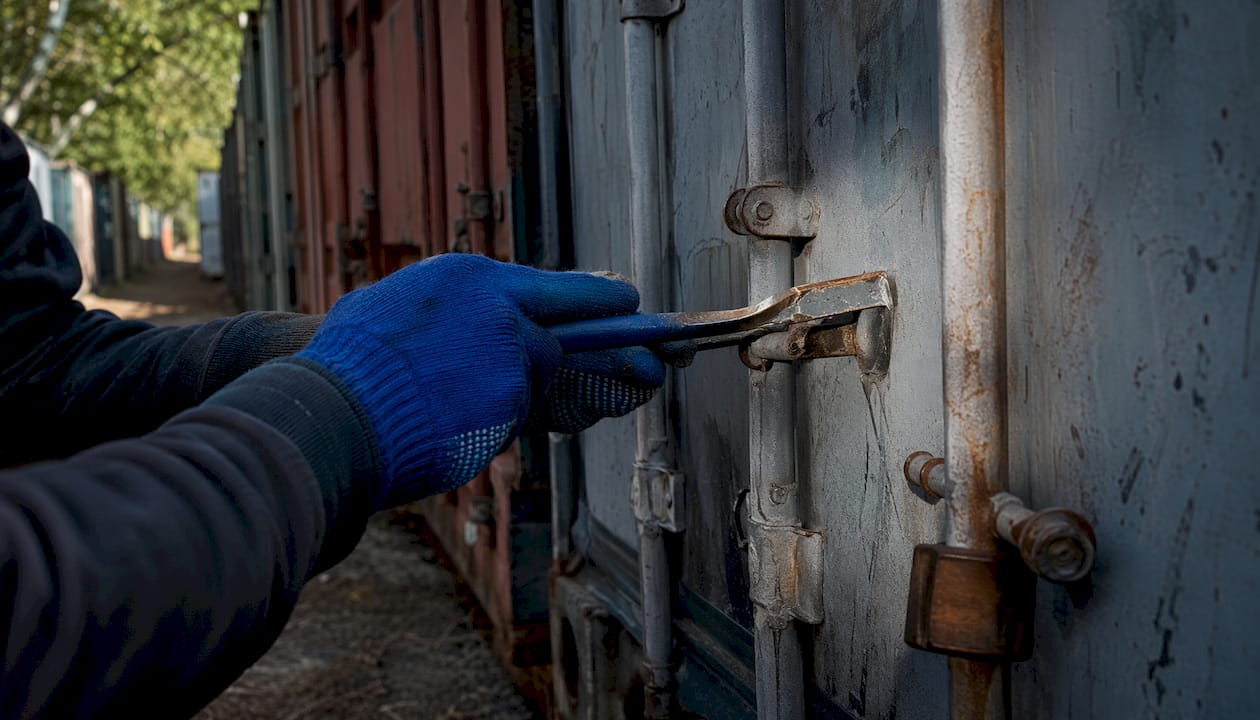
Theft and forced entry are the obvious concern. The typical scenario isn't a sophisticated break-in — it's an exposed-shackle padlock cut with bolt cutters in a poorly lit corner of a facility. Opportunistic, fast, and avoidable with the right lock and the right facility.
Fire is less common but catastrophic when it happens. The NFPA tracks large-loss fires across the U.S., and storage facilities appear regularly on that list. The cause is almost always prohibited items: gasoline cans, propane tanks, lithium batteries left in old power tools, or paint stored in a sealed unit during summer heat. One unit's contents can ignite an entire building.
Water intrusion and flooding damage more belongings than most renters expect. A heavy rainstorm, a roof leak, or a burst pipe can soak everything stored directly on the concrete floor. Cardboard boxes are particularly vulnerable — they absorb moisture, collapse, and create the damp conditions that mold needs to take hold within days.
Humidity and mold are slower and quieter. Wood warps, leather cracks, fabric grows mildew, and electronics corrode. These losses often go unnoticed until a renter opens the unit months later.
Pests — rodents, cockroaches, and bed bugs — enter through gaps in unit doors or travel in on furniture and boxes brought from infested spaces. Cardboard is practically an invitation.
Accidental damage from poor packing is underrated as a risk. Heavy boxes stacked on fragile items, furniture tipping without support, or items shifting during a facility's routine maintenance can cause breakage that no insurance policy covers as "theft."
Pro Tip: Place your highest-value items behind large furniture, not near the door. Anyone who opens your unit — whether authorized or not — sees the back wall last.
How to choose the safest facility and the right unit type
Not all storage facilities are equal, and the security gap between a well-run operation and a bare-bones one is significant. A layered security approach — gated access with personal codes, perimeter fencing, recorded CCTV at the gate and driveways, bright exterior lighting, on-site staff, and a disc-lock requirement — is what separates facilities that deter incidents from those that just respond to them.
When evaluating a facility, run through this checklist in person:
- Gated access with individual PIN codes (not a shared code posted on a sign)
- Perimeter fencing that's intact, not patched with zip ties
- Recorded CCTV covering the gate, driveways, and unit corridors — ask how long footage is retained
- Bright exterior lighting at night — drive by after dark before you sign a lease
- On-site staff during business hours, and ideally a manager who lives on-site
- Disc-lock requirement or recommendation from the facility itself
On unit type: climate-controlled units maintain moderate temperatures and humidity levels suitable for antiques, electronics, musical instruments, artwork, and wood furniture. Standard drive-up units are fine for metal appliances, outdoor equipment, and durable furniture — but only if you're comfortable with temperature swings. You can compare indoor vs. outdoor unit tradeoffs in more detail before committing.
Interior units on upper floors are generally harder to access for a thief but more exposed to roof leaks. Ground-floor end units get more foot traffic and are easier to observe — a double-edged situation. For a thorough facility evaluation checklist, including the specific questions to ask before signing, that resource walks through the full process.
Access hours matter more than most renters realize. A facility with 24/7 access is convenient, but it also means more people moving through at 2 AM. Some renters prefer facilities with staffed hours only, which limits access windows for unauthorized activity.
How to pack, arrange, and label your unit so items actually survive
The way you load a unit determines whether you'll find your belongings intact six months later — and whether you can actually reach them without unpacking everything.
Containers: Use plastic totes with locking lids for anything you're storing longer than a few weeks. Cardboard absorbs moisture and attracts pests; it's acceptable for a short move but not for long-term storage. Wrap wood and leather furniture in breathable moving blankets, not plastic wrap, which traps moisture against the surface.
Loading order: Pack large furniture first — sofas, bed frames, wardrobes — against the back wall. Shelving units go in next, then boxes stacked on top of them. Fragile items go in last, clearly labeled, never at the bottom of a stack. Leave a center aisle from the door to the back so you can reach anything without dismantling the whole unit. Lift everything off the concrete floor using pallets, shelving, or wooden boards — direct contact with concrete accelerates moisture damage.
Labeling: Write the contents and room of origin on at least two sides of every box, and orient those labels toward the aisle. A quick visual scan should tell you exactly what's in each box without moving anything. For a more structured approach, proven organization systems show how renters use color-coding and numbered maps to track unit contents.
Electronics and textiles: Long-term electronics storage requires climate control — heat and humidity cause corrosion on circuit boards that's often invisible until the device fails. For textiles, vacuum storage bags work well for short-term storage but can compress fibers permanently over months. Climate control is the better solution for anything you care about.
Fragile items: Wrap individually in packing paper or bubble wrap, pack them in smaller boxes (heavy items in small boxes, light items in large ones), and mark the box "FRAGILE" on top and on the side facing the aisle.
Which locks actually reduce theft risk, and what to avoid
The single most common security mistake renters make is using a standard padlock with an exposed shackle. Those shackles can be cut with bolt cutters in seconds — it's not a dramatic heist, it's a 30-second job. A disc lock has a recessed shackle that denies bolt-cutter purchase entirely. That one change removes the most common physical attack vector.
What to look for in a disc lock:
- Hardened steel body and shackle
- Grade 1 or Grade 2 security rating where available
- A tight-fitting design that leaves minimal gap between the lock and the hasp
Beyond the lock itself, your personal habits matter:
- Protect your keypad code. Don't share it, and change it if you've given it to someone who no longer needs access.
- Vary your visit times. A predictable schedule makes it easier for someone to plan around your absence.
- Don't open your unit when strangers are nearby. Wait until they've moved on, or ask a facility employee to be present.
- Never post photos of your unit contents on social media with identifiable unit numbers or facility names visible.
Pro Tip: In higher-risk areas, a hasp-and-two-lock arrangement — one disc lock through the hasp, one through the door latch — doubles the time and tools required for forced entry. Ask your facility manager whether the door hardware supports it before buying a second lock.
What not to do: leaving your vehicle keys visible in an unlocked car while you're in the unit, using a facility-provided lock without inspecting it first, or assuming the facility's security cameras cover your specific unit door. Many don't.
How to build an insurance-ready inventory before you need it
Most insurance claims fail not because the coverage wasn't there, but because the documentation wasn't. Photographic and serial-number evidence is what separates a paid claim from a denied one.
Here's the step-by-step process:
- List every item with its name, brand, model, and serial number where applicable.
- Record the estimated value for each item — use original receipts, current resale value, or replacement cost.
- Photograph each item individually, with serial numbers clearly visible in at least one shot.
- Shoot a short video walkthrough of the full unit after loading, narrating what's in each area.
- Note the purchase date for high-value items — insurers often ask for it.
- Store everything off-site: upload to Google Drive, iDrive, or Dropbox; email a copy to yourself; keep a printed copy at home. The inventory is useless if it's inside the unit when the unit is damaged or stolen.
For a detailed chain-of-custody process, the home moving inventory guide from Atlantic Star covers documentation steps that translate directly to storage situations.
On coverage: your homeowner's or renter's policy may cover off-site belongings, but typically at a reduced percentage and with exclusions. Storage-specific insurance cost varies depending on the declared value. Many facilities require proof of coverage or sell their own tenant protection plans at move-in. Read the policy wording carefully — most exclude damage from flooding, pests, and mold unless you've specifically added those riders.
Refresh your inventory every time you add or remove items. A photo record that's two years old won't reflect what's actually in the unit.
| Coverage Type | Typical Cost | What It Covers |
|---|---|---|
| Homeowner/renter add-on | Varies by policy | Off-site belongings, often at 10% of home coverage limit |
| Facility tenant protection plan | Bundled with rent | Basic theft and fire; often excludes flood and pests |
| Standalone storage insurance | $15–$40/month | Broader coverage; check for flood, mold, and pest riders |
How to stop pests and moisture from destroying stored items
Humidity and pests are the slow disasters of storage. They don't announce themselves — you find the damage months later when it's too late to recover anything.
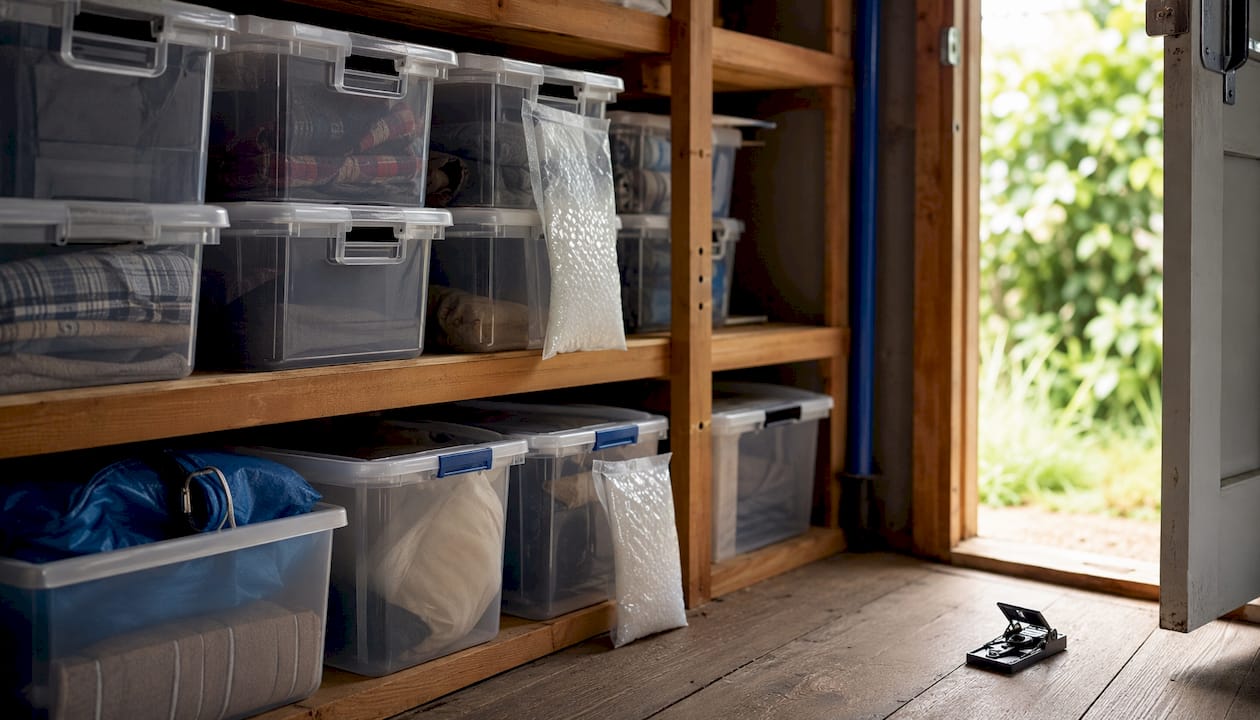
The most vulnerable items: textiles, books, wood furniture, leather, and electronics. All of them absorb or react to moisture. All of them attract or harbor pests.
Desiccants: Place silica gel packets or DampRid containers throughout the unit, especially near textiles and electronics. Replace or recharge desiccants regularly to keep them effective. For larger units, a small plug-in dehumidifier is worth the cost if you have access to an outlet.
Container choices: Plastic bins with tight-fitting lids are the baseline. Sealed containers reduce pest access compared to cardboard, which rodents chew through easily and which holds moisture against whatever's inside. For bedding and clothing, sealed plastic bins beat vacuum bags for anything stored longer than three months.
Bed bugs are a specific concern. They can survive in storage units and travel in on upholstered furniture, mattresses, and clothing brought from infested spaces. Inspect all fabric items before storing them. If you suspect an infestation, contact the facility immediately — they're responsible for treating common areas, and you'll need to document the issue for any insurance claim.
Pro Tip: Each time you visit, bring two or three fresh desiccant packets and swap out the old ones. It takes five minutes and prevents the kind of mold damage that ruins an entire unit's worth of furniture.
Pest traps (glue boards for rodents, pheromone traps for insects) placed near the door and corners give you early warning. If you see activity, escalate to the facility manager in writing and photograph the evidence.
How often should you visit, and what should you check?
"Out of sight, out of mind" is the most common mistake facility managers see. Renters sign a lease, load the unit, and don't return for a year. By then, moisture has warped the furniture, pests have nested in the boxes, and the lock has corroded.
Visit cadence by storage horizon:
- Short-term (under 3 months): One check at the midpoint is usually enough.
- Medium-term (3–12 months): Every few months, which aligns with commonly recommended intervals for inspecting moisture, pests, and environmental changes.
- Long-term (over 12 months): Every 2 months without exception. The longer items sit, the more a small problem compounds.
Quick visit checklist:
- Inspect the lock and door hardware for signs of tampering or corrosion
- Check for visible water stains, pooling, or damp spots on the floor
- Smell for mildew — your nose catches it before your eyes do
- Look for pest droppings, chew marks, or insect activity near the door and corners
- Check desiccant condition and replace if saturated
- Verify pest traps and replace if triggered
- Note any changes to facility lighting, gate function, or camera coverage
If you find a problem: photograph it immediately, notify the facility manager in writing (email creates a timestamp), and document what you found and when. If the damage is significant, contact your insurer before moving or cleaning anything. For long-term storage maintenance routines, there's more detail on what to check and how to escalate.
Small tasks you can handle during a visit: swap desiccants, re-tape any boxes that have opened at the seams, reposition items that have shifted off pallets, and wipe down any visible moisture on plastic containers.
What you should never store in a storage unit
Prohibited items are prohibited for a reason — they create fire, explosion, and health risks that can destroy an entire building's worth of belongings, not just yours. Facilities and fire codes prohibit these categories for documented safety reasons.
Do not store:
- Gasoline, diesel, or other flammable liquids
- Propane tanks, even "empty" ones
- Gas-powered equipment with fuel still in the tank (drain it completely first)
- Paint, solvents, and aerosols
- Explosives, fireworks, or ammunition (check your state and local laws)
- Certain lithium batteries — particularly damaged, swollen, or non-OEM replacements
- Perishable food of any kind
- Live animals or plants
- Hazardous chemicals or materials regulated under EPA or OSHA guidelines
Insurance implications: If a claim arises from damage caused by prohibited items you stored, your insurer will likely deny it. Negligence exclusions are standard in storage policies, and storing prohibited materials is textbook negligence.
Legal note: U.S. storage facility leases incorporate local fire codes by reference. Violating those codes can void your lease and expose you to liability if your items damage a neighbor's unit. Ask the facility for their written prohibited-items list at move-in and keep a copy.
If you discover prohibited items in your unit — perhaps something you forgot about or didn't realize was prohibited — remove them immediately, notify the facility manager, and document the removal in writing. Don't wait.
Key Takeaways
Combining the right facility with the right personal habits — disc lock, off-site inventory, climate control for sensitive items, and a regular visit schedule — prevents the vast majority of storage losses.
| Point | Details |
|---|---|
| Use a disc lock | Recessed shackles resist bolt cutters; standard padlocks can be cut in seconds. |
| Store inventory off-site | Photos, serial numbers, and values kept in cloud storage or at home are what make insurance claims succeed. |
| Choose climate control wisely | Units held at 55–85°F and below 60% humidity protect electronics, antiques, and wood furniture. |
| Visit every 2–3 months | Regular inspections catch moisture, pests, and lock issues before they cause total loss. |
| Never store prohibited items | Flammables, propane, and certain batteries void insurance coverage and risk destroying the entire facility. |
What storage operators actually see — and what renters miss
The gap between what renters think protects their belongings and what actually does is wider than most people expect.
The disc-lock advice isn't theoretical. Facility managers across the country report that the majority of theft incidents involve standard padlocks — not sophisticated attacks on disc locks or security systems. The lock is the easiest thing to fix, and it's the thing renters most often skip because a padlock from the hardware store feels adequate. It isn't.
The inventory issue is similar. Renters assume their homeowner's policy covers everything off-site. Sometimes it does, partially. But "partially" means a coverage limit that's a fraction of the home policy, exclusions for flooding and pests, and a claims process that requires documentation most renters don't have. The $15–$40 per month for dedicated storage insurance is a straightforward calculation when you're storing $10,000 worth of furniture and electronics.
What I find most telling is the visit cadence problem. The facilities that see the fewest environmental-damage claims are the ones with tenants who show up regularly — not because those tenants are doing anything complicated, but because they catch the small signs early. A slightly damp corner. A triggered glue trap. A desiccant that's been saturated for two months. None of those are disasters on their own. Left for a year, they are.
If you're a storage facility operator and you want the renters searching for this kind of guidance to find your facility first, that's a different problem — one that Corvanesystems is built to solve. We help storage businesses show up in Google searches and inside the AI tools people now use to choose a facility.
Useful sources for further reading
The following sources informed this article and are worth consulting directly for specific topics:
- NFPA Large-Loss Fire Reports — The National Fire Protection Association's data on large-loss fires in the U.S., including storage facility incidents. Best for understanding fire risk and prohibited-item consequences.
- NFPA Codes and Standards — The governing fire codes that storage facilities incorporate into their lease terms. Useful for understanding what's legally prohibited and why.
- EPA Chemical Warehouse Safety Alert — EPA joint safety alert on chemical storage hazards. Relevant for understanding why certain materials are prohibited in storage facilities.
- Modern Storage Security Guide — Practical, manager-sourced guidance on locks, facility security features, and layered protection. Best for the lock-selection and facility-evaluation sections.
- SmartStop Self Storage Blog — Operator-sourced dos and don'ts, including visit cadence and maintenance recommendations.
- Cedarbrook Hill Storage Security Guide — Covers climate control specifications, inventory documentation, and insurance cost ranges.
- Convectex Bed Bug Guide — Specific guidance on bed-bug survival in storage environments and prevention steps.